


You don’t need us to tell you that the body and mind are intrinsically connected. If one isn’t in good health then the other will likely suffer too. That means that to feel happy, motivated, focused and productive in work, you need to nurture long-term comfort. This all comes down to how your work station is set up.
In this blog post, we catch up with Nomique Area Sales Manager, Richard Olver who offers his expertise on workstation set up, translating it to the home office for those of you who might be working remotely. Of course, true home working set up success requires strategic consideration of space-planning, technology, soundproofing and ergonomic furniture but for now, stick to Richard’s top 5 essentials and you won’t go far wrong…

Your essential guide to home office set up
When considering the advice below, it’s important to note that if you are going to be working from home for an extended period of time, experts would always recommend investing in the appropriate equipment. If you’d like to speak to one of our customer service team about purchasing your home working essentials, get in touch by calling 0151 737 5000.
1. Fixed monitor height (including dual monitor)
- When using a fixed monitor this needs to be adjustable in height to enable you to get the correct positioning for yourself
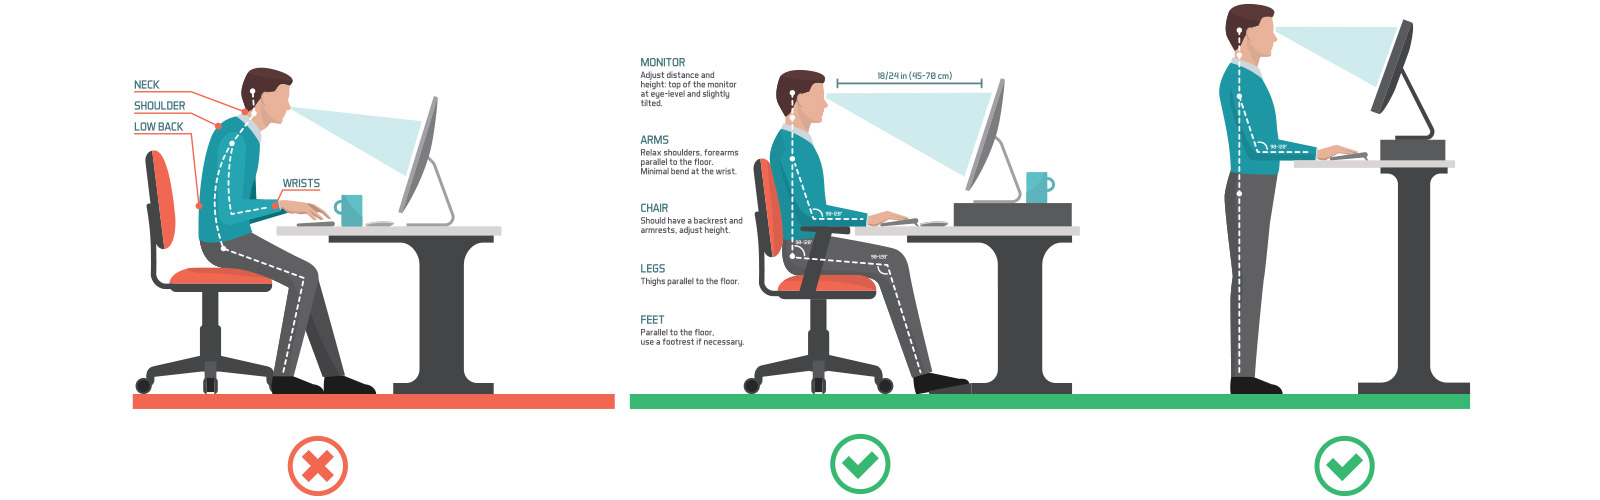
- The height of the screen should sit so that the top third of the screen falls in line with your neutral line of vision
- The screen should be approximately an arm’s reach away from you when you are in seated position. This will help make sure that you’re not leaning forward or reaching on a constant basis.
- You should be able to sit with your back in contact with the back of your chair to help you maintain good posture in an upright position.
- When setting up a dual monitor, if you tend to use one monitor more than the other then you should always position yourself directly in-line with your main monitor.
- If you use both monitors equally then you should work centrally between the two monitors to reduce unnecessary twisting which will put increased strain on the upper back, neck and shoulders.
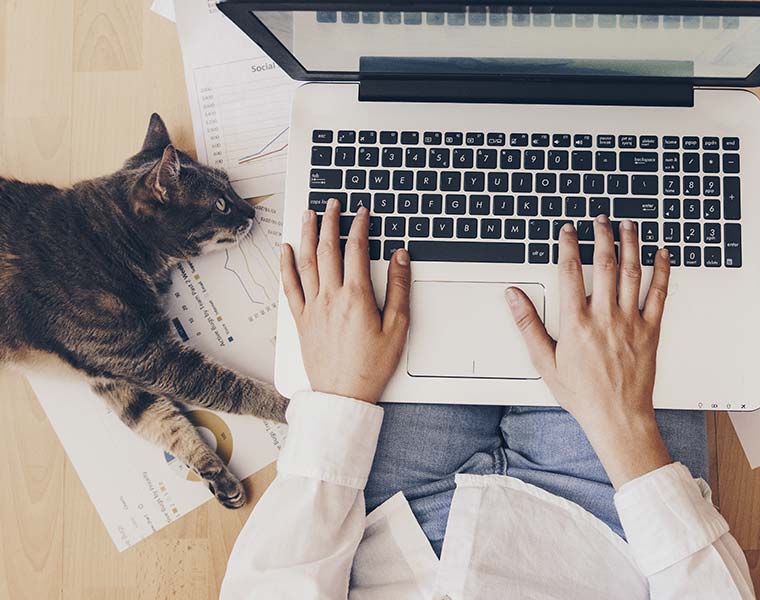
2. Laptop monitor height
- Your laptop set up should reflect the fixed monitor guidelines above.
- You should be able to position your monitor to a height which does not cause you to hunch forward.
- Again, the screen should be positioned around an arm’s length away from your seated position but close enough so that you are not consistently reaching forwards to the mouse or keyboard.
- Laptops should not be used flat on a desk for extended periods as they are not designed for this. This is where a laptop stand comes in to elevate and tilt the device for more ergonomic use.
3. Correct positioning of keyboard and mouse
- When using a laptop flat on the table, you should position it comfortably at arm’s length so that you’re not having to reach or hunch forward. If using a plug-in mouse, this should also be close enough to avoid stretching but far enough to eliminate hunching.
- However, as mentioned above, laptops should be elevated and titled on a laptop stand if you are going to be using it for a prolonged period of time. You will therefore need a separate keyboard and mouse on the flat surface to make this possible.
- When using a separate keyboard and mouse it is important these are positioned in-line with the screen and that the mouse is within easy reach of the seated position.
- For those who don’t need to use the number pad on a keyboard then I would suggest sourcing a mini keyboard as this allows the mouse to move in closer and avoid over reaching.

4. Where to put your paperwork
- Poor positioning of paperwork is generally the number one cause of poor posture in upper back, neck and shoulder region.
- We often place paperwork in front of our keyboard causing this to get pushed backwards on the desk, this in turn causes us to hunch forward over the paperwork to access the keyboard.
- Ensure that during longer periods of working, paper documents are positioned between the keyboard and the monitor/laptop.
- If this is not possible then it is advised an in-line document holder is sourced.
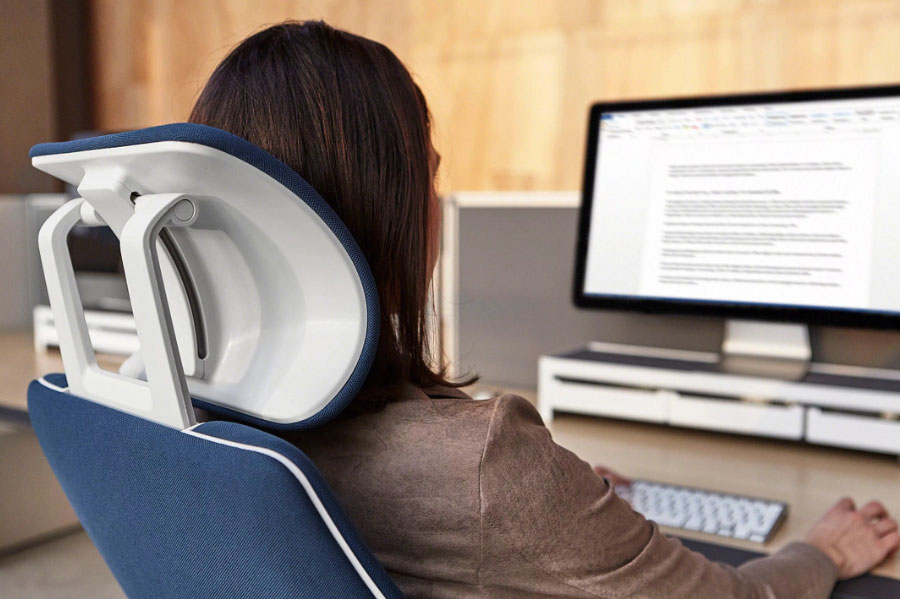
5. How to set your office chair up
- Height of your chair – Firstly, make sure you’re sitting on a height adjustable chair. To set the height correctly, position yourself so that your hips are slightly higher than your knees allowing for a slight downwards angle (this creates more space in the pelvis to reduce tension in the lower back. Your feet should be placed firmly on the floor, not resting on the base, so that your legs creates a 90-degree angle.
- Depth of your seat – Ideally the chair you are using should be adjustable in seat depth. To correctly set seat depth ensure that you are sat fully back into the chair with feet on the floor. You should have around a two or three finger gap between the front edge of the seat and the back of your knee.
- Height of your backrest – This should be positioned so as to ensure you have contact points at both the lower and upper part of the backrest. If a lumbar support is fitted then this should inflate into the centre of your lumbar curve.
- Backrest angle – Adjust the angle of the back rest so that you create a straight line with your ear, shoulder and hips.
- Chair arms – Relax your shoulders and then bend your elbow to 90-degrees. You should then adjust the armrest to this height. Once you have done this bring yourself to your desk and the armrests should sit level (if not slightly above the height of the desk).
- If this is not the case then adjust your seat height up slightly (not the armrests) so that the armrests can achieve the above position. If this causes your feet to lift off the ground then you may need a footrest.
- Free float back – If your chair has this function then try and use this when sat for longer periods of time to encourage some movement. The use of these functions also helps you to maintain good posture when carrying multiple jobs at your workstation. This function will be tension controlled (either to the side or underneath the chair) and should be set so that you feel balanced (i.e. not sinking backwards or being pushed forwards).