


In this blog post, we catch up with yoga teacher and stretch-extraordinaire, Erika Khanna to offer you some pearls of wisdom on how to relieve both physical tension and mental imbalance through yoga. She demonstrates a variety of postures which are perfect for those of us who spend a great deal of time hunched over our desks.
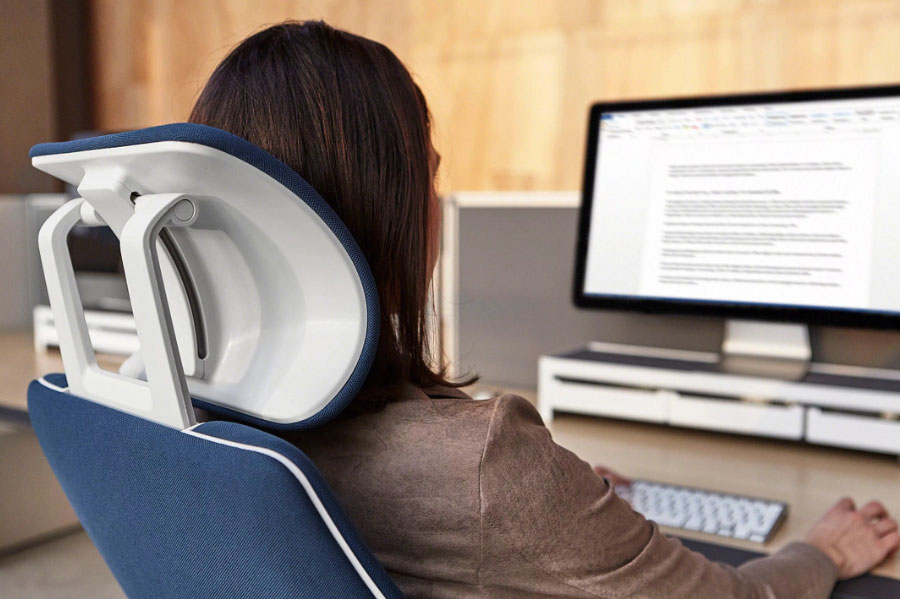
As experts in office design, we champion the positive impact space-planning and ergonomic furniture has on physical and cognitive function but it really is important to get up, move your body and check in with your mental wellness – no matter how comfortable or high-tech your work station. A combination of healthy habits and a well-designed workspace is how you can foster a working environment conducive to strong employee wellbeing, whether that’s at the office or working from home.
Yoga stretches for office workers with back, neck and hip pain
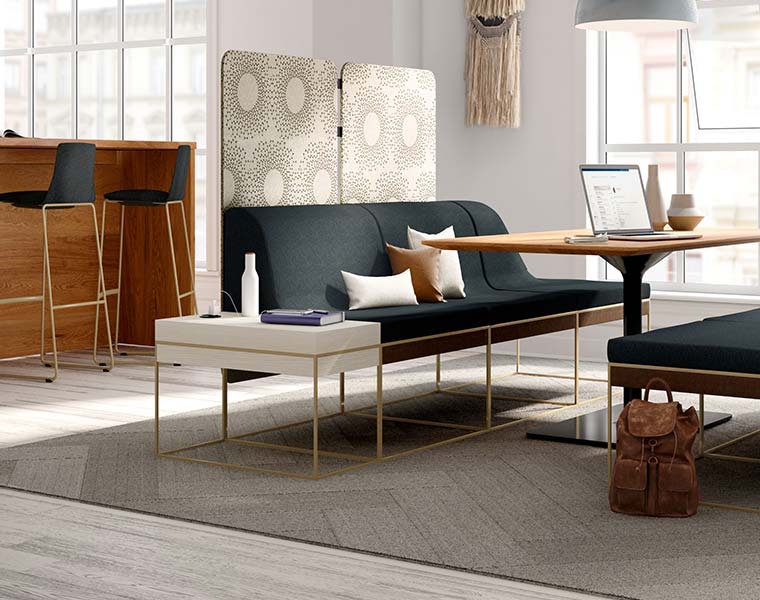
Of course, it’s much easier to roll out the mat and assume ‘downward dog’ if you’re working from the comfort of your own home. However, if your office provides a private workspace or multi-functional work setting where you can rejuvenate for a while – preferably with plenty of natural light – make use of it by practicing these four simple stretches – you’ll thank us (and Erika!) for it later. Doing so will boost blood flow, circulation and help release tension from the upper and lower body.
Expert’s tip: Remember to release from each pose slowly and gradually so as not to damage your joints or cause injury.
Seated Cat & Cow Spine
“Cat and cow spine helps with breath flow to allow your breath to flow deeper in to your lungs. It’s also a very gentle way of introducing flexibility to your spine, stretches your neck and torso while encouraging you to bring more awareness to your posture. Many of us work from home and develop a lack of awareness about how we sit, causing us to hunch over. This pose is a helpful reminder that by correcting our posture, we can develop a sense of comfort, ease and relaxation.”
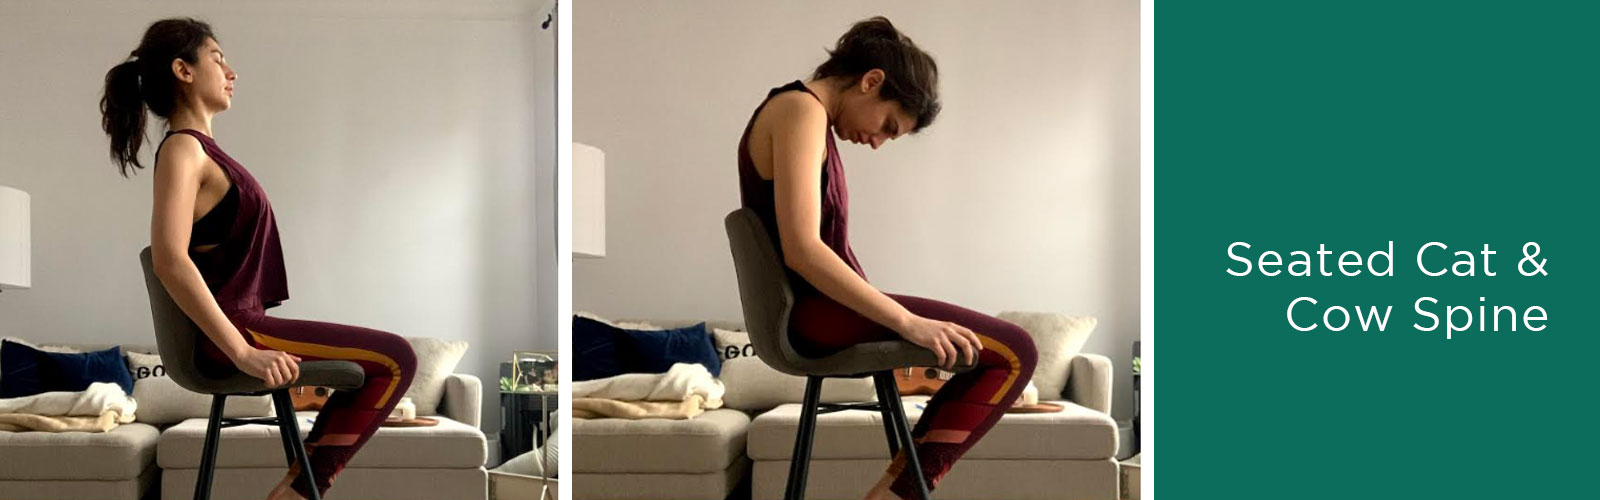
How to do a Seated Cat & Cow:
- Sit up tall with your spine relaxed, inhale and roll your shoulder blades down your spine. You can also lightly grip the bottom of your chair with your hands “stacking” them beneath your shoulders. Open your chest and look forward, arching the back slightly.
- On your exhale, tuck your chin slightly and round the top of your back, arching it like an angry cat.
- Repeat for 5-10 breaths.
Seated Twist
“Now that we’ve woken up your spine a little, it’s time to twist it out. Gentle spinal twists encourage blood to flow to the abdominal organs and encourage spinal mobility. Gentle spinal twists are also helpful to alleviate lower back pain when you have been sat at your desk all day.”
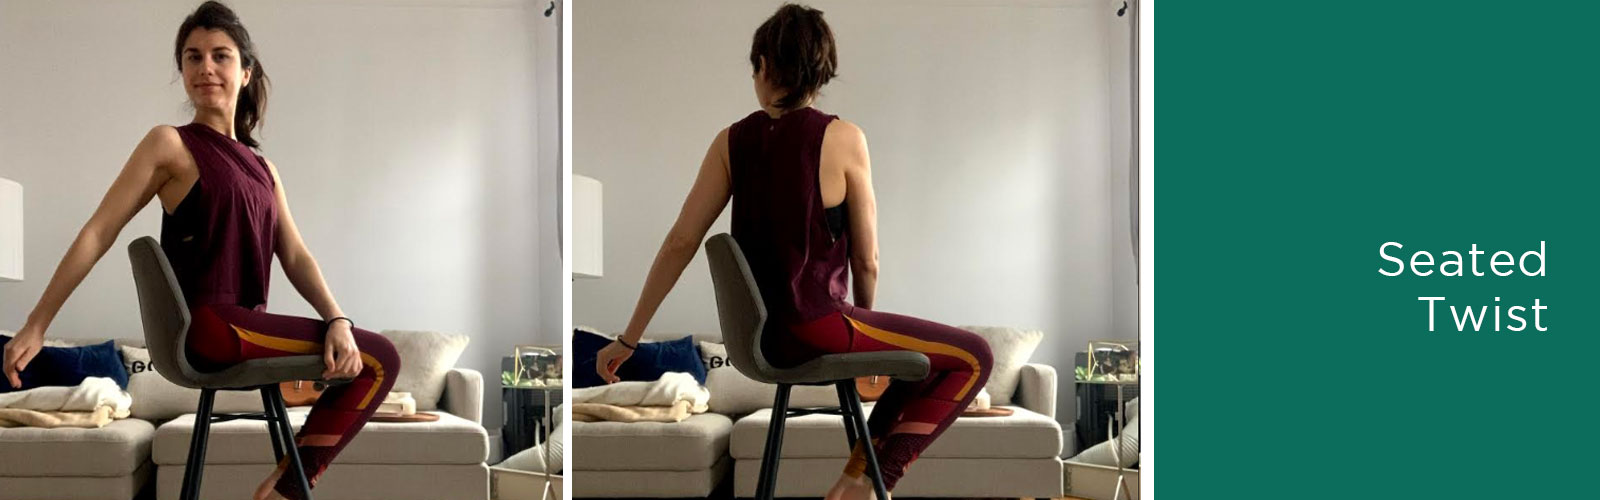
How to do a Seated Twist:
- Sitting upright, facing forward, tuck your chin slightly and take a deep breath in. Exhale and twist your upper body towards the right. You can lightly grip your chair, if this is helpful to you, but it’s not necessary. You want to make sure your pelvis, hips, knees are still facing forward to get the full benefits of the twist.
- Once you’re in your twist, inhale slowly and not too deeply (it’s normal not to be able to take really big deep breaths here, because your torso is in a twist) to grow a little taller in your seat, as you exhale, see if you can twist a touch deeper. If not, don’t worry, stay in your original twist.
- Inhale to come back to centre, and exhale.
- Inhale tuck your chin slightly, exhale twist to the left following the same directions on the left hand side.
- Stay in the twist on each side for 5-10 breaths.
Standing Forward Fold
“Forward folds are brilliant for encouraging blood flow to the brain, while also helping alleviate discomfort in your lower back. If you’re experiencing writers block, aren’t inspired by your work, or if you’re generally feeling overwhelmed and stressed out: standing forward bend to the rescue!”

How to do a Standing Forward Fold
- Inhale and stand with your feet hip width apart (or a little wider, if that’s comfortable for you). Draw your shoulders down your spine away from your ears, tuck your chin slightly downwards so that it’s parallel to the floor.
- Keep a slight bend in your knees, this will help protect your lower back and allow you to fold deeper.
- Exhale, dive down towards your feet, hinging from your hips. Your lower body will stay in place, keeping that bend in your knees will allow your torso and upper body to folder further in to the pose, while protecting your lower back and relieving tightness in the lower back that we often experience when sitting for long periods of time.
- The trick here is not to try and touch your toes but to hinge your hips up towards the ceiling, gently dropping your arms and head. Bend your knees a little more, as needed. The aim is to feel a gentle stretch in your hamstrings, calves and hips.
- In your fold, gently inhale and on your exhale fold a little deeper, if that’s possible for you. Breathe here for 3-5 breaths.
- Coming out of a forward fold is just as important as going in to it. On your inhale, keep your chin tucked and head down, gently grounding through your feet, unfurl your spine upwards, stacking your spine vertebrae by vertebrae until you’re standing tall, with your head coming up last.
- Exhale in your standing posture for a moment. Take a few deep breaths in your standing pose to encourage your breath to regulate itself.
Thread the Needle
“We tend to store a lot of our stress in our hips. They’re the part of our body that typically feel tightest after sitting for long periods of time. Achieving hip mobility creates a sense of ease in the body and in the mind and can be achieved by very simple stretches that don’t require you to have existing flexibility. If you’re new to stretching your hips, Thread the Needle (or Figure 4) is very effective.”
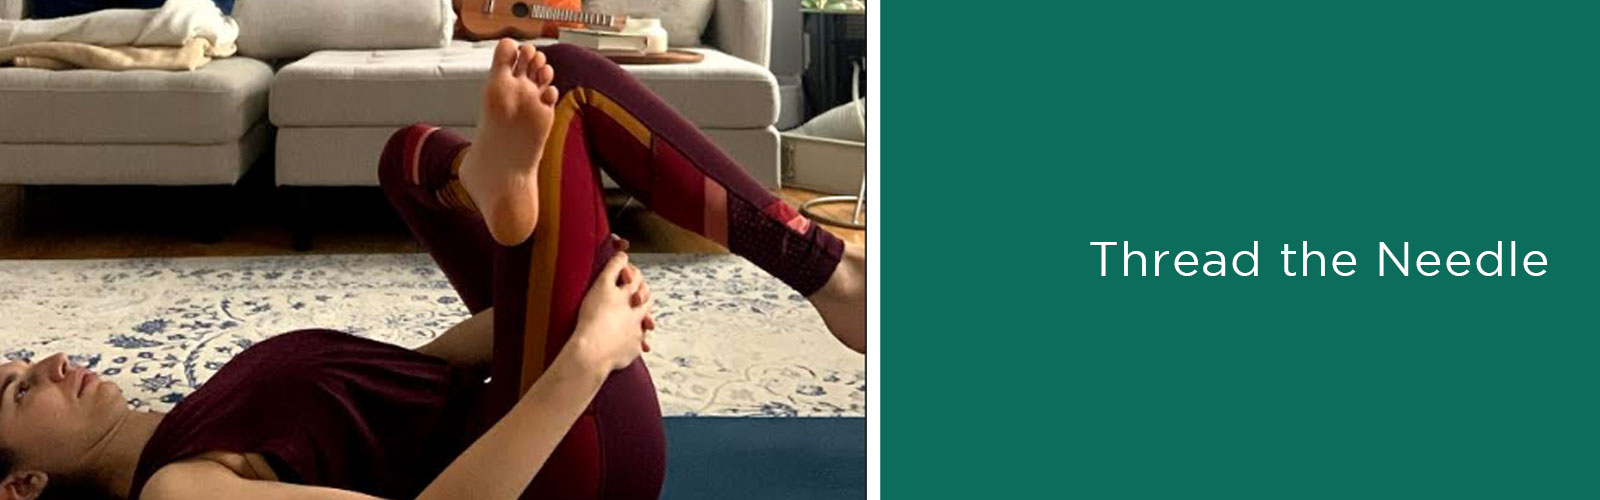
How to do a Thread the Needle:
- Laying on your back with your knees bent and feet planted, bring your awareness to your back to ensure your back is flat on the floor.
- Soles of the feet are also planted flat on the floor and tuck your chin slightly so that the back of your neck and head are resting on the floor as well, keeping a long line in your spine. If you lengthen your arms towards your feet, your finger tips should gently graze the back of your heels.
- Bring your right foot to your left thigh, resting your ankle on your left thigh, flexing your right foot. It’s important to keep the right foot flexed to protect your right knee joint. Reaching both hands on the back of the left thigh, draw your left knee closer towards you – your left foot will lift when you do this too. The point isn’t to bring your knee to your nose, it’s to feel a gentle stretch in the hips.
- Feel your tailbone lengthen downwards, keeping your lower back, spine, shoulders and head resting on the floor.
- Keep your right foot flexed, activating the right leg to feel the gentle stretch.
- Take 5-10 deep breaths in this pose and then gently release your arms from your thigh placing your right foot on the floor.
- When you come out of this pose, be mindful not to “slingshot” your foot off of your thigh – be gentle with your body as you ease out of the pose.
- Repeat on the left side by placing the left ankle bone to your right thigh, keeping the left foot flexed and wrapping your hands behind your right thigh. Once again, being mindful to keep your left foot flexed so that you protect your left knee joint.
- Lengthen through your tailbone and back as you gently draw your right knee towards you, feeling the stretch for 5-20 breaths.
- To come out of this pose, once again be mindful not to do so too quickly. Rest here and then using your hands for support, slowly come up to a seated posture.
–
Unfortunately for us, Erika has now moved back to Montreal from Manchester but if you’d like to see more of her Vinyasa flow sequences, follow her on Instagram @erika_khanna or drop her a message to book an online 1:1 session.